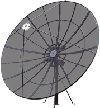
This is what you are wanting your polar dish setup
to look like.
Understanding the polar mount and actuator
fittings can help.
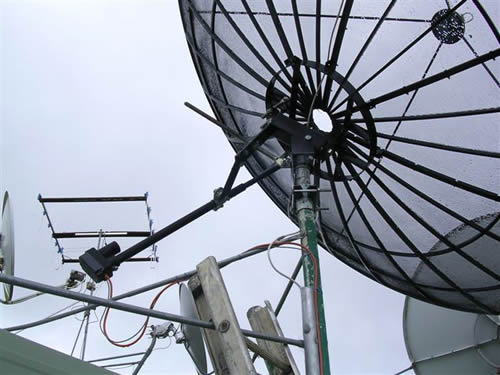
Cobwebs come pretty fast and don't seem
to mind the dish movement.

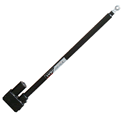
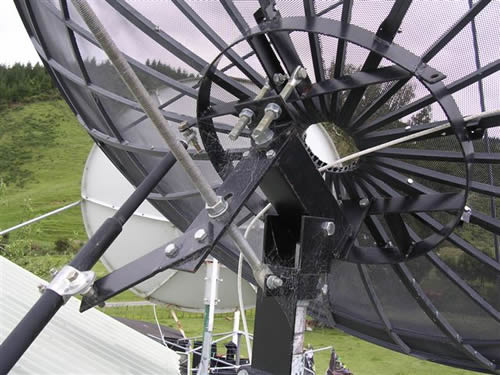
Note where the Linear Actuator connects.
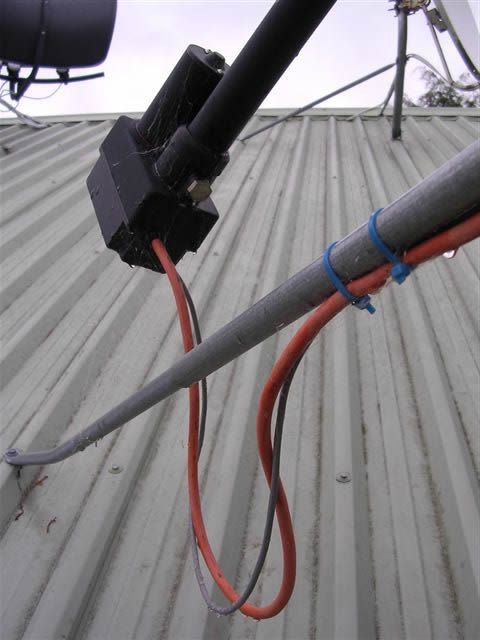
This is the linear actuator with the
cabling. The actuator requires two pairs of cables.
We have used a heavy twin pair flex for the power cable
and a light flex for the signal pair. Using standard
mains cable works well - usually 2.5mm cable for the
power cable and standard flex for the signal will work
for 50m runs or more. Of course at that length you will
start to lose signal on the coax cable so be careful
of long lengths.
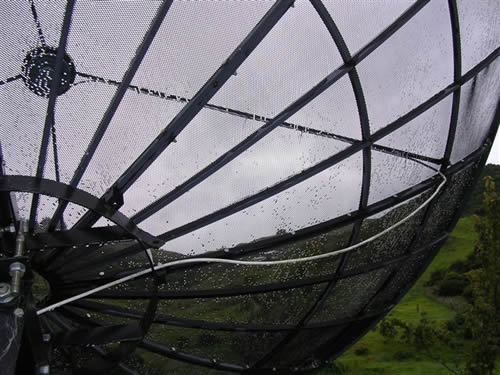
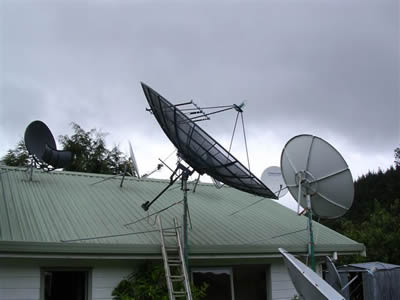
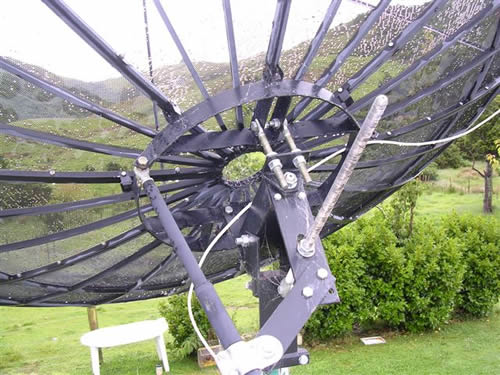
Notice how the coax cable is fed through
the mesh. You do not have to do this but it does make
the run shorter and neater. Bear in mind though that
you do have to make a hole in your brand new dish mesh
to feed the cable through. You might not feel like doing
this, so just run it around the edge.
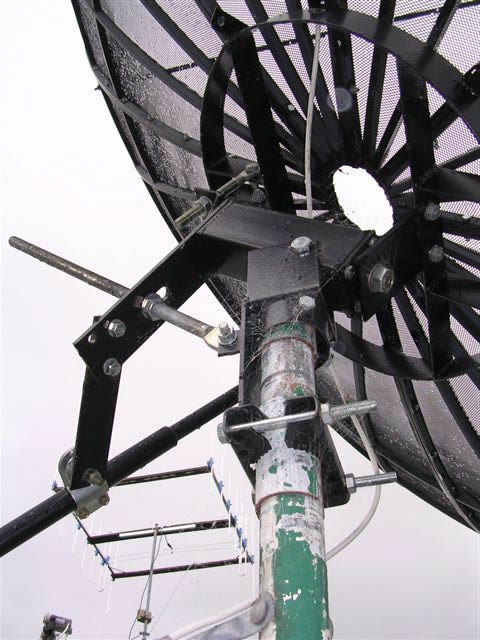
Note the two points of clamping for
the mount. We recommend a 78mm OD (outside diameter)
heavy wall pipe, though you can see here that a smaller
diameter pipe can be adapted to fit. Another way to
have a very strong mount is to use a very heavy square
section of pipe and weld the 78mm pipe into the top
where the dish mount sits.
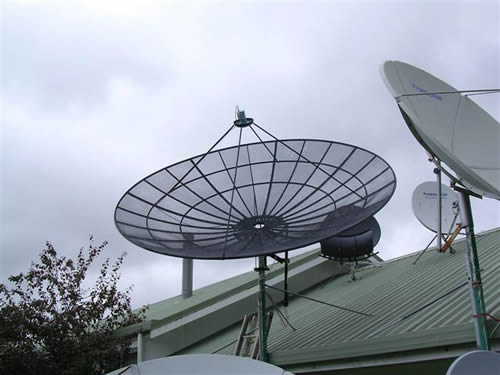
Notice that even though the mounting
pipe is fixed to a concrete base and attached to the
eave of the house, it is also braced higher up back
to the roof of the house. If you wish to keep your new
dish and your house intact, never underestimate the
power of high winds. A mesh dish is not 'invisible'
to wind. It is only 'less' affected than a solid dish.
|